Create the Appointment Confirmation Campaign in Glowedge
- Navigate to Campaigns and create a campaign.
- If you want a Confirmation Step (optional), add an email/SMS/messenger event confirming the appointment, sending it immediately.
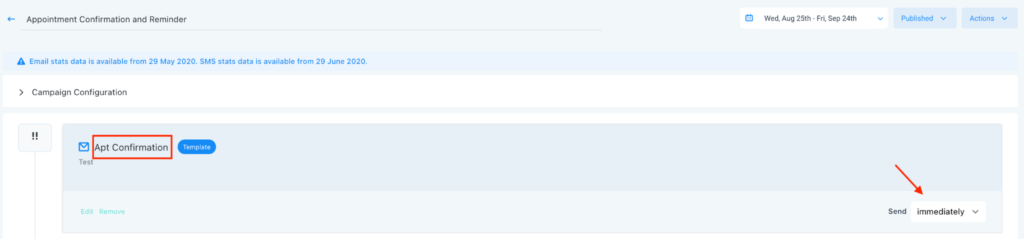
- Next, create reminder events. Use the “before” setting so the event sends X hours/days/minutes before the appointment.
- For example, an email 48 hours before will send 48 hours before the scheduled time. This setup can be used for both SMS and email reminders within the same campaign.
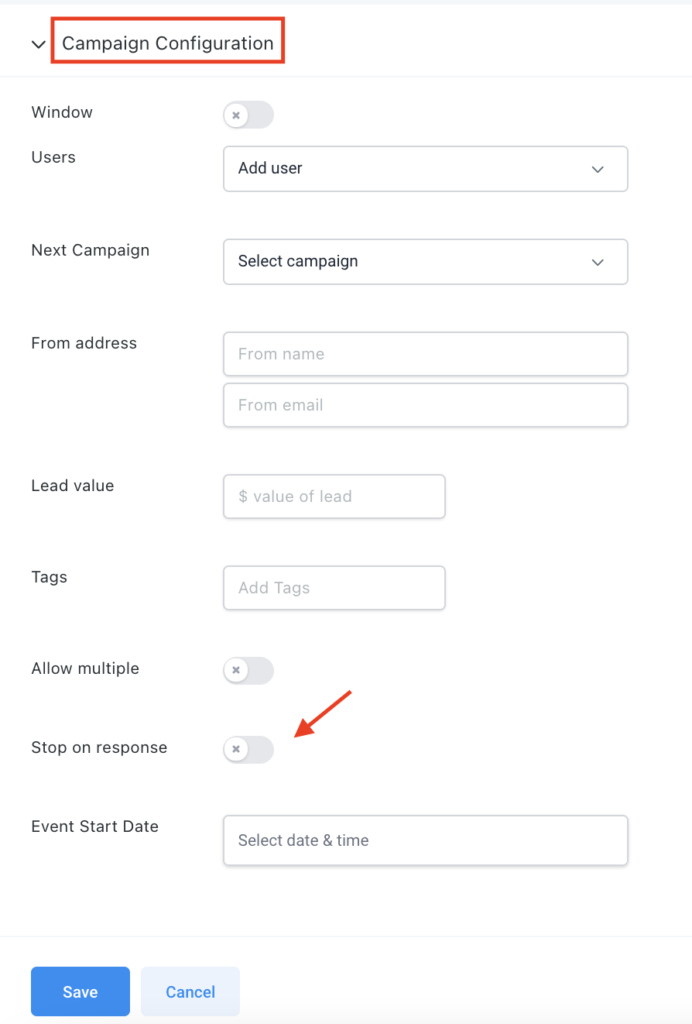
- To ensure reminders continue even if the lead responds, toggle off the “Stop on response” in Campaign Configuration.
- This prevents halting reminders when a lead confirms the appointment.
After finishing, publish the campaign.
Note: To add a one-off lead to the confirmation and reminder campaign, do so in the Conversations or Contacts section. Ensure the appointment is booked before adding them to the campaign by clicking the +Add icon.